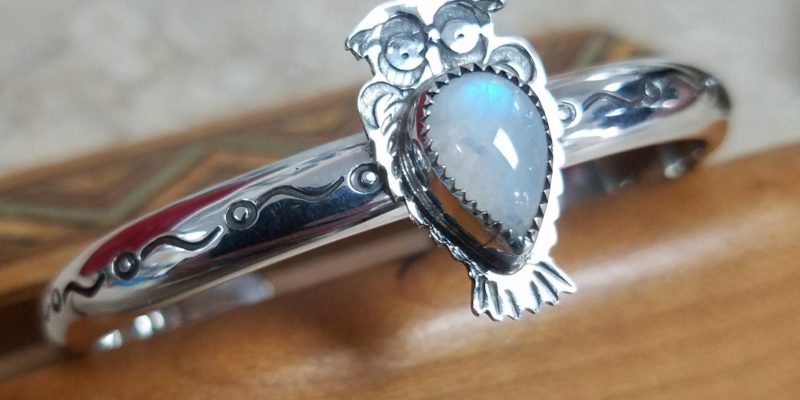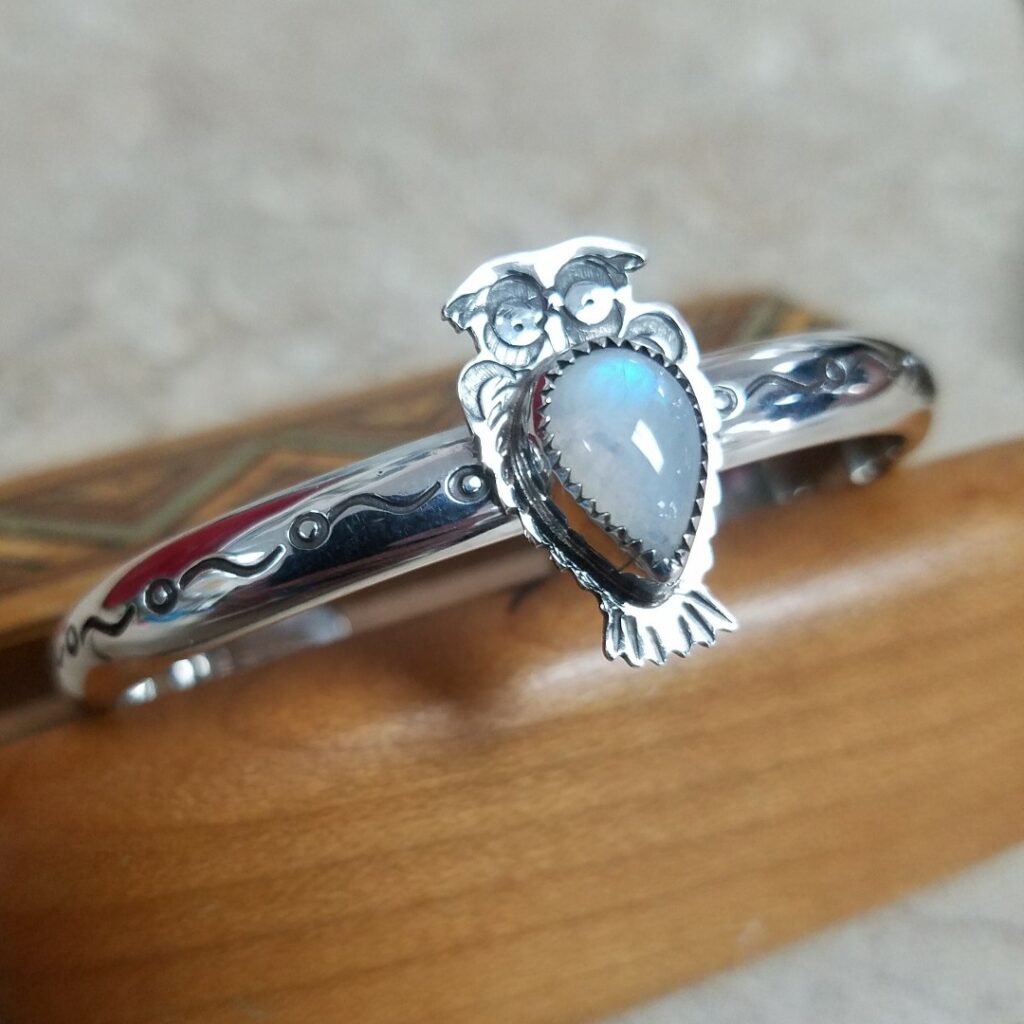
Cold Forging and Stamping
Leave your thoughts
Getting Comfortable with Cold Forging – Stupendous Metal Stamping
By Theresa Garcia and Keri Muniz
Making jewelry is for everyone! There are many different jewelry techniques. Some are simple and can be done anywhere. Others require the right machinery and safety equipment. Over the next few blogs we’ll write about how easy it is to get started making jewelry and the tools that make it possible. Let’s start by exploring stamped metal surfaces.
What kind of stamps do I use?
Stamping, a method of cold forging (no torch heat), requires only a handful of tools and is a great way to add uniqueness to any piece of jewelry. Stamps are made of hardened steel that is temperature treated for durability. Stamps can have letters, numbers, pictures, or geometric shapes. They can be combined, repeated, or rotated to create your own design. Let’s look at the tools you will need to create an earring, pendant or flat bracelet.
What supplies do I need to begin stamping?
The tools you will need to get started are minimal and fairly inexpensive. All you need is an anvil block (flat, steel pounding surface), a 2lb brass hammer, sheet metal or wire, a jeweler’s saw (or metal punch), a hole punch or hand drill, a set of files, sandpaper and/or micron papers, patina (optional), wooden dapping block (optional), and of course the design stamps of your choice. Choosing a hammer is important.
It is best to use a brass or dead blow hammer when stamping. A dead blow hammer is a specialized tool minimizing damage to the struck surface and in controlling striking force, with minimal rebound from the struck surface. If you use a steel hammer, the pattern end of the stamp will have potential for “dancing” on the metal (producing double images).
How do I get started stamping?
First, you will cut your desired shape out of your metal with the saw or use a metal punch like a disc cutter. The only time you want to stamp first is if you’re doing a large amount of stamping that would cover the entire piece of metal. This would change the size of the metal.
After cutting the metal, it’s a good time to make a hole with a punch or drill for a jump ring or ear wire to be added later. A plier punch or metal punch will make a quick hole that can be easily cleaned with a round needle file/rat tail file. Now you are ready to stamp. If you have never stamped before, we recommend practicing on an inexpensive piece of metal sheet like red brass to become comfortable with placement of the stamp and the required force to leave an impression.
Now you’re ready to stamp. Place your piece of metal on your anvil block. Put the pattern end of the stamp flush on the metal at a 90 degree angle making a “T”. If the stamp is not fully touching the metal the patterned design may not transfer to the metal or only partially transfer. Hit the top of the stamp with your 2 lb brass hammer.
How can I shape my stamped piece?
Once you have added the desired stampings to your piece, you may decide to shape your piece by doming it with a wooden dapping block. Using a wooden dapping block instead of metal will ensure that you don’t lose or distort the pattern you just stamped. Wooden blocks typically come with 2 punches for shaping flat pieces in the depressions of the wooden block. You will tap the metal into a shape with successive hits to the punch rather than try and accomplish doming with one blow.
A common mistake that jewelers make is not filing down metal burrs that are produced from sawing, punching, or drilling the metal. Filing down burrs is a simple step that makes it far friendlier to wear. It reduces the risk of cutting the person who is wearing your jewelry or catching it on their clothes. Satisfied customers will return to buy more.
How can I add a surface treatment to my project?
If you want an antique look, consider adding patina. This is best done before finishing and polishing. If you accidentally apply it in an undesirable area it can be removed by sanding. Follow the directions that come with any patina you purchase. Paint the patina into recess areas to add depth or coat the entire piece to change the entire look. Some patinas, like liver of sulfur, require special handling.
If you choose liver of sulfur, rinse your patina application first with clean water, then place in a baking soda/water bath to stop the chemical reaction when you have reached the desired effect. By rinsing liver of sulfur off at an early stage you can get some interesting reds, purples, and blues on sterling silver.
How do I remove blemishes on the metal?
To remove scratches start with 220 grit sandpaper and sand in small circles until the scratch can’t be seen. Repeat this process using increasingly finer grits starting with 320, moving to 400, 600, 1000, and finally 4000. For an extra mirror shine you can use even finer micron paper. If you prefer a satin finish, steel wool is a great option. Steel wool comes in a variety of coarseness like sandpaper.
Finally, add a jump ring or earring hook to make your new piece of art wearable. Stamping your work provides countless opportunities to make your work stand out!
Material List
Optional Items
342121 – Silver Black Patina
382302 – Wood Forming block
Choose one or two from each group
A. 111022 – sterling silver 22 ga sheet metal or 161026 – 26 ga red brass sheet
B. 112118 – 18 ga sterling round wire or 162120 – 20 ga red brass round wire
C. 353021 – disc cutter ⅛-½ inch or 350008 – 2/0 Buzz Saw Bladed and 351004- 4 inch German saw frame
D. 405405 – Hand drill with ¼ inch chuck or 455072 – plier hole punch
E. 217811 – sterling earring hooks or 267803 – brass earring hooks
219049 – 10mm sterling jump rings or 269108 – 8mm brass jump rings
Necessary Items
380004 – Anvil block 4”x4”
380614- 2 lb brass hammer
372305 – Economy set of 12 needle files
321505 – Wet/dry sandpaper 220 grit
321506 – Wet/dry sandpaper 320 grit
321507 – Wet/dry sandpaper 400 grit
321508 – Wet/dry sandpaper 600 grit
321509 – Wet/dry sandpaper 800 grit
321510 – Wet/dry sandpaper 1000 grit
321529 – micron paper kit- set of 6
834000-834999 – variety of stamps, even more available in the store.

